Home Server Pt. 1
Setting up a home server for containers.
Motivation
When I first purchased the computer I intended to use as my home server, I was intending to use it to help solidify my Kubernetes and Terraform skills but also with the added benefit of having a home server.
So, what did I want?
- Self hosting my own source code repositories
- Self hosting my own CICD pipeline to support those code repositories
- Self hosting Bitwarden, ending my password manager subscription
- Run personal projects locally for testing
As you will see below I have a rather modest mini PC to make all of this work so my choices revolve around stretching limited hardware, adding additional compute power, and ease of maintenance.
Software
- Fedora Server: Linux distribution
- Ansible: Configuration management
- Consul: Service discovery
- Vault: Secret management
- Nomad: Container orchestration
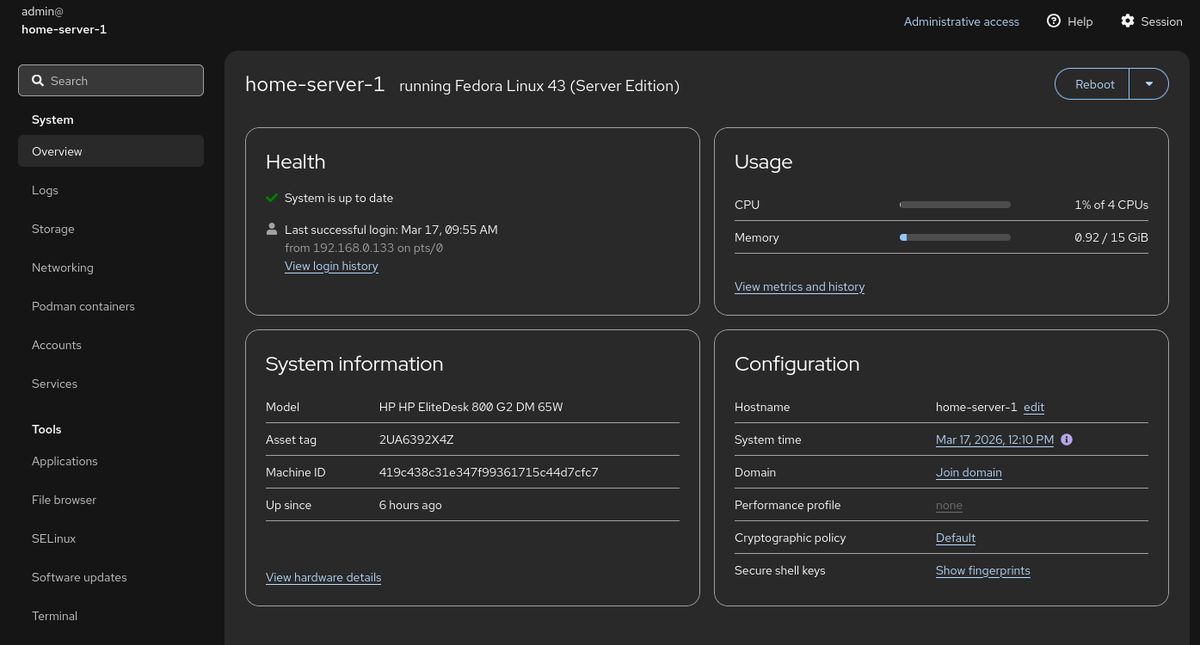
Fedora Server
There are a lot of options in this space. My final choice was Fedora Server based on familiarity with Fedora, but one could really use any Linux distribution that supports the hardware on hand. Fedora Server does have some special features that make it a good fit.
- Comes preconfigured to run container workloads with libvrt or Podman
- Configured with reasonable defaults for a fresh server installation
- Excellent hardware compatibility with up to date kernels
- Runs on a wide range of hardware including Raspberry Pi
- Cockpit, preinstalled, gives an easy web interface to manage and monitor the server
- Cockpit has a Podman pods and containers dashboard making checking status easy
Setup
- Make install USB with Fedora Media Writer
- Install simply following along with the installer
- Configure network settings and hostname
- Set up initial admin account and permissions
- Finish installation
- Reboot into running Fedora Server
- Copy SSH keys to server
- Make sure sshd is enabled as a service and running
- Disable admin password login for SSH
- Disable root login for SSH
The single configuration change here is my sshd_config file. You can edit the file at /etc/ssh/sshd_config or place a sshd_config file elsewhere and configure the service to use that configuration with the -f flag. This was my configuration change:
AllowUsers admin
Match User admin
        X11Forwarding no
        PasswordAuthentication no
Other options
| Distribution | Best For | Verdict |
|---|---|---|
| Ubuntu Server | General ease of use | Avoid. Concerns regarding untested “Rust rewrites” of core binaries like sudo and recent security regressions. |
| Alpine Linux | Minimalist/Lightweight setups | Skip. Extremely lightweight, but requires significant manual configuration effort that may not be worth the time. |
| Fedora IoT | Immutable infrastructure | Good Choice. Excellent if you want an immutable OS with built-in WiFi, but requires learning Butane/Ignition tooling. |
| Void Linux | Highly granular control | Consider. A powerful, independent distro; best if you are already experienced with Linux, but requires more manual setup for specific binaries. |
Ansible
Since in the future I would like to add more nodes to my cluster, it seemed like a good idea to create a repeatable process to set up a server and configure my stack. My choice was Ansible, that I have never used before. A part of the reason of this project is learning so I used it to configure my server. There is no claim that it is idiomatic to an Ansible professional. My ansible playbook does work for my needs though it definitely could use some improvements and will likely need more work when I add more servers.
Consul
Consul is a service mesh solution that provides service discovery, health checks, and key-value store which integrates with Nomad. Consul also can act as a DNS server for registered services so they can be referenced by name such as http://vault.service.consul:8200 instead of IP addresses. In the case that one or more server instances are down it will still get to the healthy running instances. Since there is a future where I add more nodes to my Nomad cluster it made sense to install Consul since Nomad uses it to find other Nomad servers.
The playbook has completed successfully so we can see that Consul is installed and running.
admin@home-server-1:~$ consul catalog services
consul
nomad
nomad-client
vault
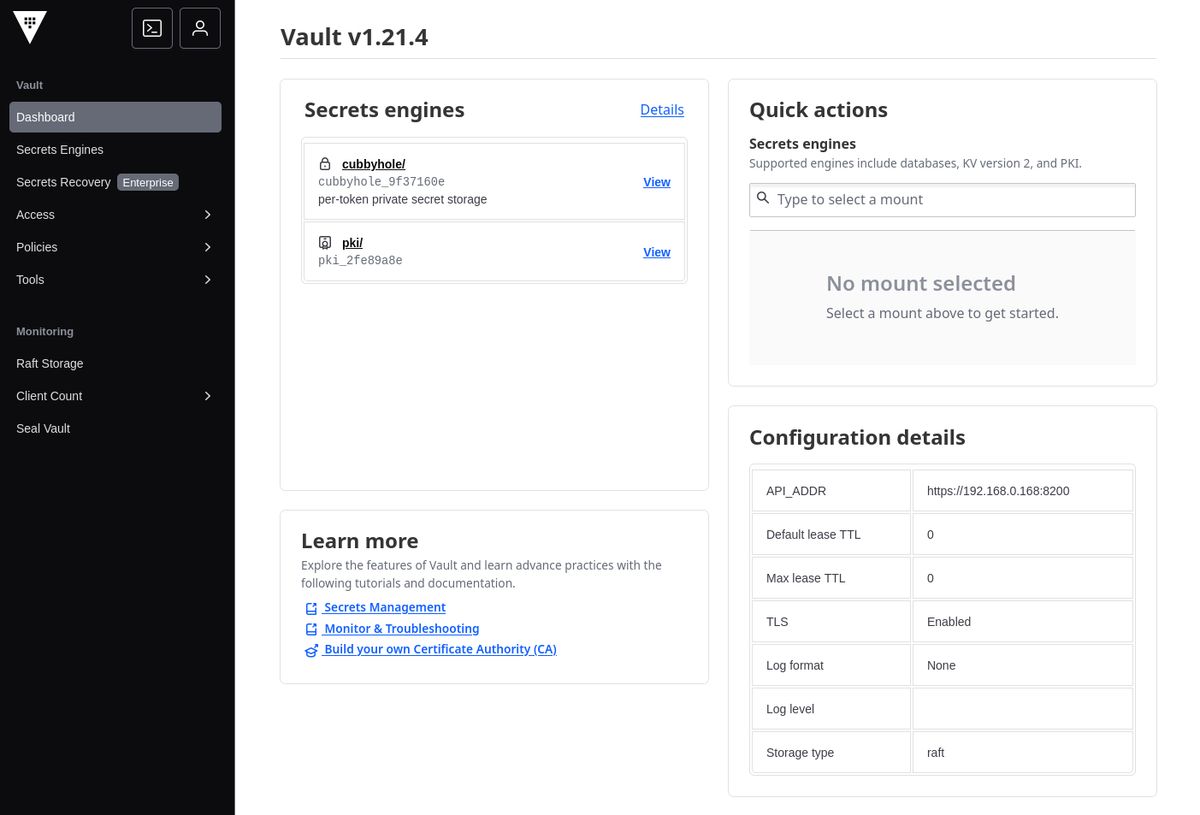
Vault
Vault is another part of the HashiCorp stack, used for centralized secret management. Nomad is able to authenticate services using a workload identity that then can provide access to secrets based on policies associated with the identity. Part of the magic between choosing Consul, Vault, and Nomad is that Vault can generate short lived tokens for Nomad services via Consul. These auto renewing tokens reduce the risk to leaking of secrets.
Nomad
When I was shopping for hardware I originally thought I would be using some flavor of Kubernetes such as K3s or k0s. However, I decided to go with Nomad because it is a more lightweight and less complex orchestrator that can run independently or as part of a cluster. Nomad has another interesting feature, it can manage containers but also plain executables and scripts. You can see how I configured it here. The one addition to Nomad chosen was the Nomad Podman Driver so that I could use Podman for my containers.
As you can see in the configuration template nomad.hcl.j2, there is a configuration block for Consul which Nomad uses for service discovery, health checks, and finding more Nomad servers. It also uses Vault for centralized secret management in conjunction with Consul, when a job is scheduled, it can register the service with Consul and inject a Vault token into the job’s context allowing secrets retrieval. I also took the extra step of configuring TLS for Nomad as you can see in the configuration.
··• nomad job run ./test/nomad/jobs/hello-world.nomad
==> View this job in the Web UI: https://127.0.0.1:4646/ui/jobs/hello-world@default
==> 2026-03-17T23:22:34-04:00: Monitoring evaluation "e4b528d5"
2026-03-17T23:22:34-04:00: Evaluation triggered by job "hello-world"
2026-03-17T23:22:34-04:00: Evaluation within deployment: "e1f5a0b7"
2026-03-17T23:22:34-04:00: Allocation "7d72a164" created: node "aaad5279", group "web"
2026-03-17T23:22:34-04:00: Evaluation status changed: "pending" -> "complete"
==> 2026-03-17T23:22:34-04:00: Evaluation "e4b528d5" finished with status "complete"
==> 2026-03-17T23:22:34-04:00: Monitoring deployment "e1f5a0b7"
✓ Deployment "e1f5a0b7" successful
2026-03-17T23:22:46-04:00
ID = e1f5a0b7
Job ID = hello-world
Job Version = 0
Status = successful
Description = Deployment completed successfully
Deployed
Task Group Desired Placed Healthy Unhealthy Progress Deadline
web 1 1 1 0 2026-03-17T23:32:44-04:00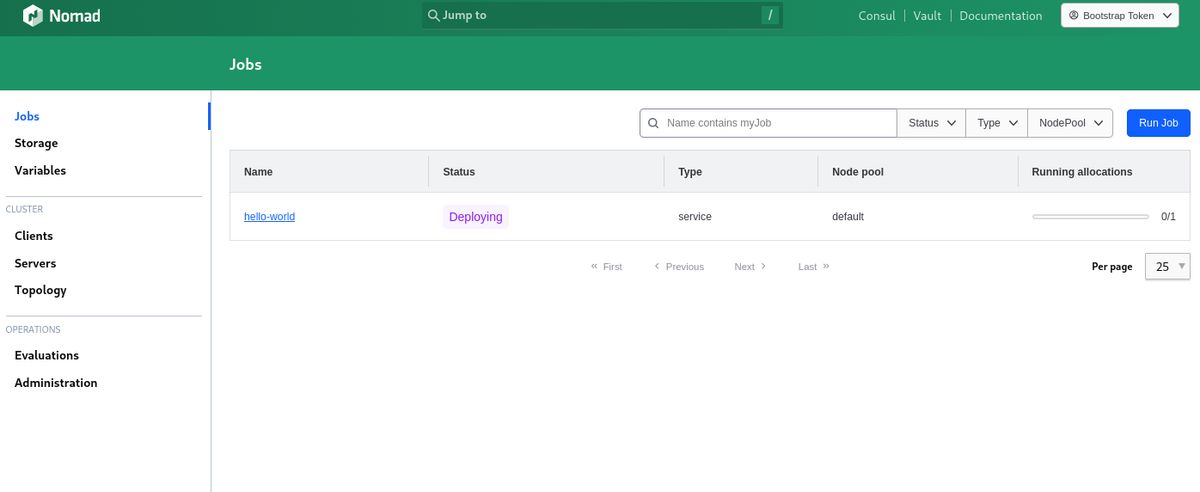
Hardware
PC
- HP EliteDesk 800 G2 DM (pdf)
- 4x Intel® Core™ i5-6500 CPU @ 3.20GHz
- 16GB RAM
- 256GB SSD
Certainly prior to the claimed RAM supply chain issues, these mini PCs were an affordable low power option to build a home server. Especially when you intend to cluster them together. This particular model can be either a 35W or a 65W model. There is a wide range of CPU options from older dual core i3 to a quad core hyper-threaded i7. The chipset used in this machine is available in mini pc form factor but also as an all in one or mini tower. Since I want a compact multi node cluster, I will be using the mini pc form factor.
The particular model I found at my price point, with my NewEgg credits, was the i5-6500 quad core model I have provided the specifications for. This model is also expandable to 32GB RAM if you can find an affordable set of DDR4 SODIMM modules. Right now, mine came with 16GB RAM and the prices for compatible used RAM is a little more than the budget permits at the moment. Should you want 32GB RAM, you may want to buy it already installed if you really need it. Opening the case it looks like the CPU heatsink may need to be pulled to change RAM. If I start hitting limits, my Raspberry Pi 8GB 4B could be added to the cluster until I find a good deal on RAM or another mini PC.
Network Adapter
- Netgear Nighthawk AXE3000 USB Wireless Network Adapter
- USB 3.0
- WiFi 6e
Unfortunately, the model I purchased did not come with a WiFi adapter. The chipset used in this model does have a PCI slot available for a WiFi card, if you can find one that fits the form factor. After looking on eBay, I didn’t find a good deal so I used a USB adapter from a now retired laptop. My desktop reports around 1Gbps network speed and lives farther than where this server will reside so the speed and latency are acceptable until I run ethernet to that location. The connection has been stable, fast, and should perform well enough.
Next Steps
Now that the server is configured and ready to handle Nomad jobs I can begin to do real work. One of the first tasks will be to deploy local network DNS such as CoreDNS. CoreDNS has ad blocking plugins I will add to block ads on all of our home devices.
With Vault, Consul, Nomad, and CoreDNS setup the next steps will be creating Nomad jobs for Caddy as a reverse proxy server and a source control service (likely Gitea). That would also include adding an image repository and a task runner like Gitea Runner or Drone.
There also are some hardware needs. Eventually there will be another good deal on a PC to expand the number of nodes. There is a Raspberry Pi 4B with 8GB RAM not currently in use that could be configured and added to the cluster. Another goal is setting up a small NAS device for the cluster. Eventually, when I run the ethernet lines for the closet these computers will reside in I will need to add a small network switch as well.
For now, lets see what I can do with what I have.